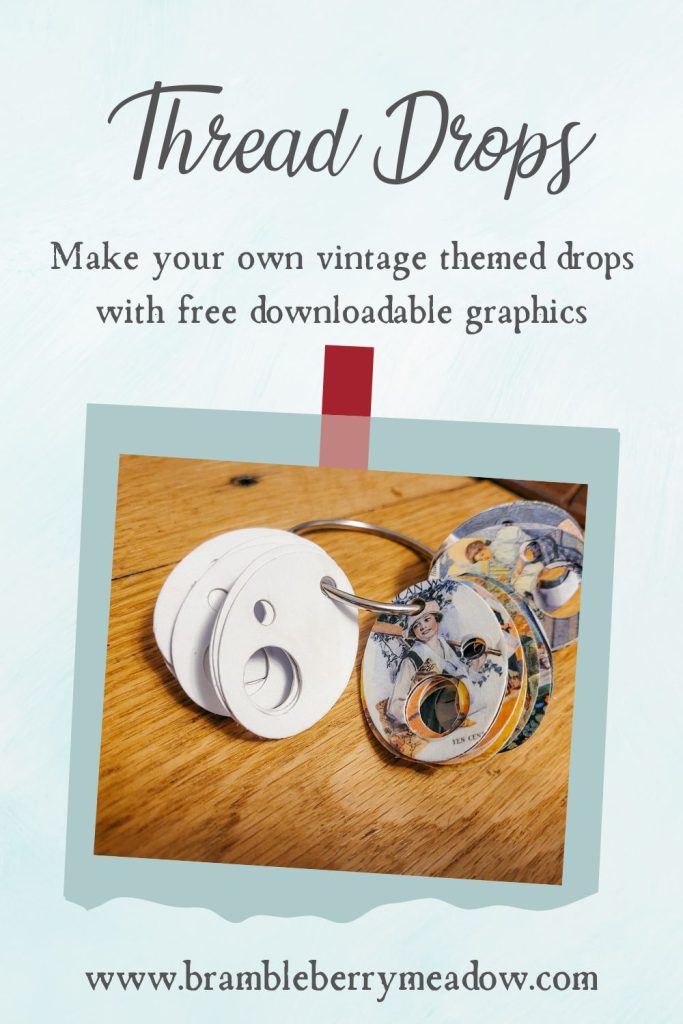
Making Fancy Thread Drops
Why “Fancy” thread drops? Why not? I mean, my entire DMC collection is on plain white drops, because that’s just faster and easier. But I’ve never been shy about being a bit of a tool snob. And after all, when I pull colors for a project, I’m going to be living with those drops for a while. I might as well have something pretty to look at.
First, let’s talk about materials. You’ll need some cardstock. I prefer the “Extra Heavy” variety found at Hobby Lobby. It only comes in 2 colors – white and kraft. So it’s as well that we’re going to make some magic. Heck, let’s just list them:
- Extra Heavy cardstock, in white
- Color printer that can accommodate the cardstock
- Punch for the drops themselves – your preference
- 5/8″ round punch
- 1/4″ round punch
Let’s talk about the whys and wherefores. My two favorite shapes to use are a 2″ round, and a 2″ oval punch. The oval ends up being slightly smaller than the round, because it’s 2″ long, and only about 1 1/2″ wide. So you can get more out of a sheet. I see a lot of rectangular drops out there, and I get it. It’s super easy to just take a paper cutter to your cardstock. But corners are a little harder to manage, and they tend to get dog-eared faster.
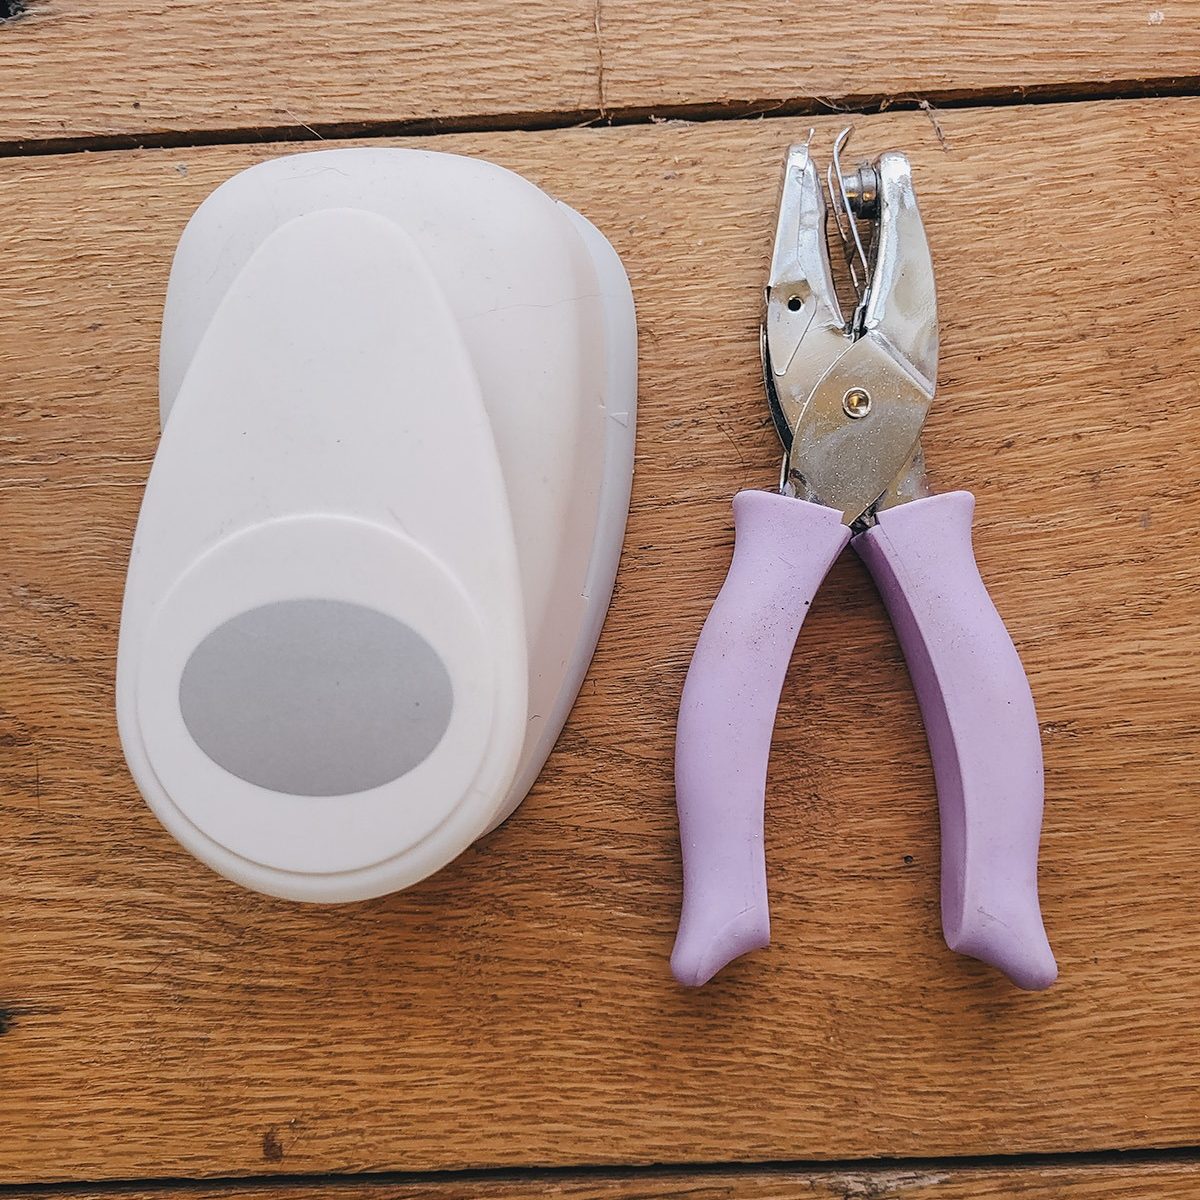
2″ Oval or “Easter Egg” Punch, 1/4″ Standard Hand Punch
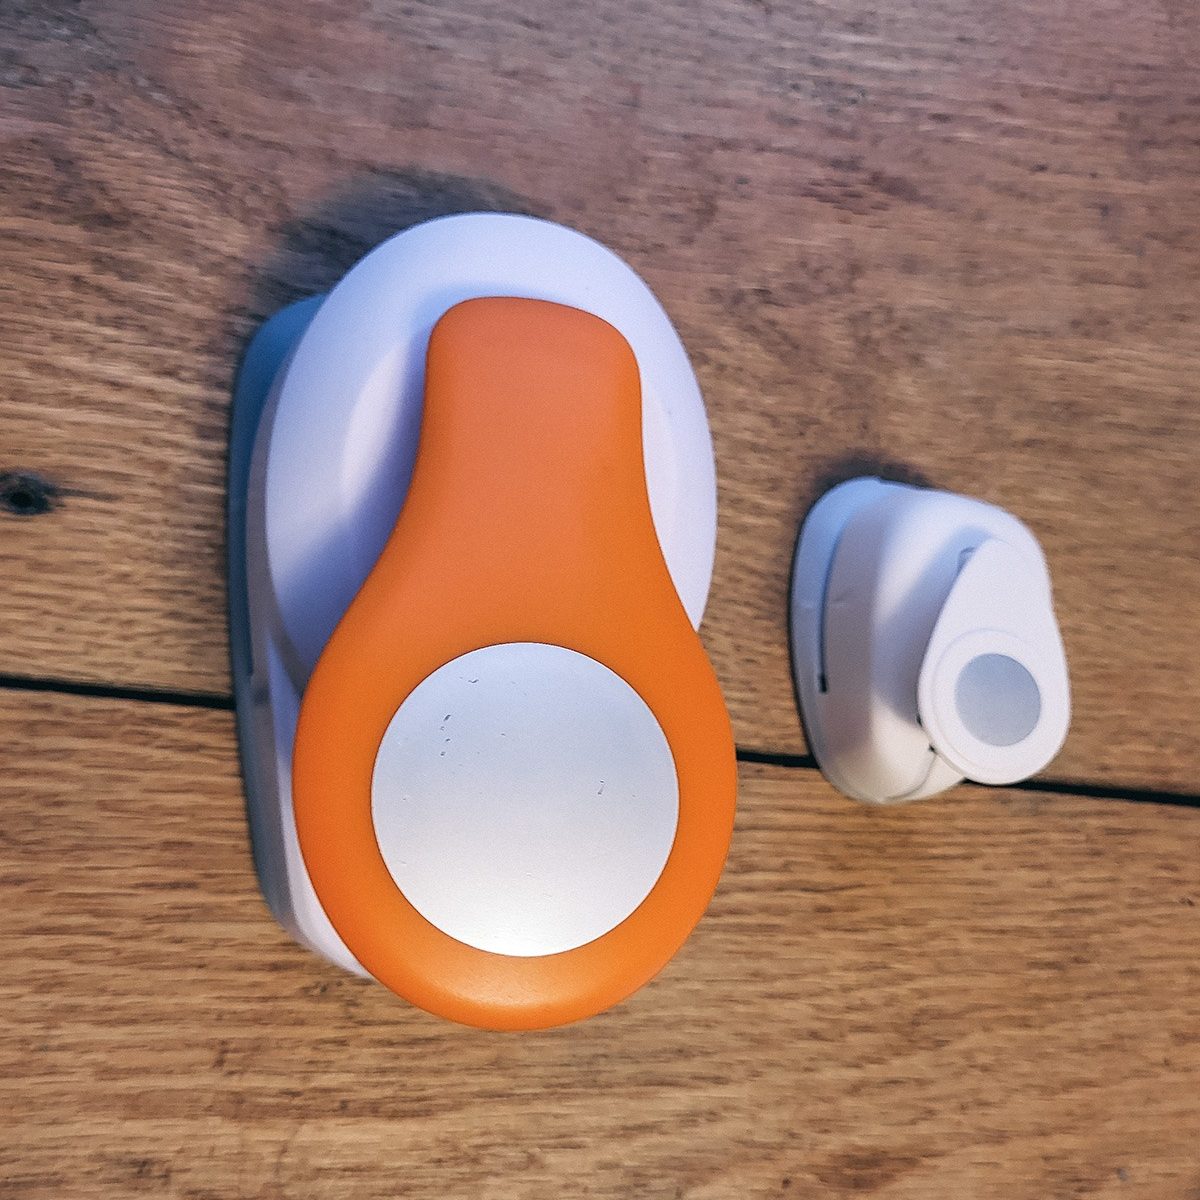
2″ Round Punch and 5/8″ Punch
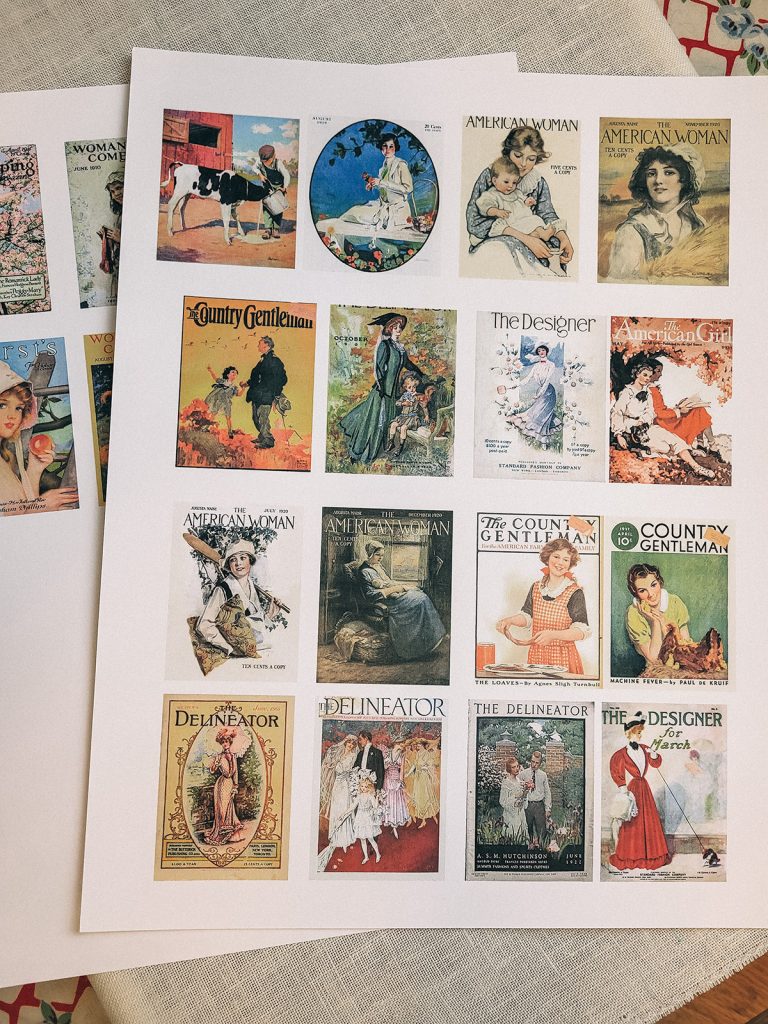
I dug through my collection of vintage magazine cover images for my first set of drops. And I’ve made them just the right size to fit the 2″ oval punch. if you’d like to make your own, you can head to my resource library for the pdf.
The pdfs in the library are sized to print without losing anything in the margins, and yet make them the right size to get the maximum from each design. Some of those with a printed oval will have a slightly different aspect ratio than the punch, but they should still do OK.
Plan on printing one sheet at a time. And only one copy at a time, even if you’re making more than that. Home printers have a tendency to struggle with extra heavy cardstock, so it is in your best interest to put one sheet at a time in the paper tray. It is no fun to clear a cardstock jam. Ask me how I know.
Take the extra tiny bit of time to set them aside and let the ink dry fully, as well. Cardstock doesn’t have a hugely shiny surface, but there is enough sizing on the paper to possibly create smearing if the ink is still wet when you grab it.
Yes, I probably could have filled two whole sheets. But this first set was something of an experiment.
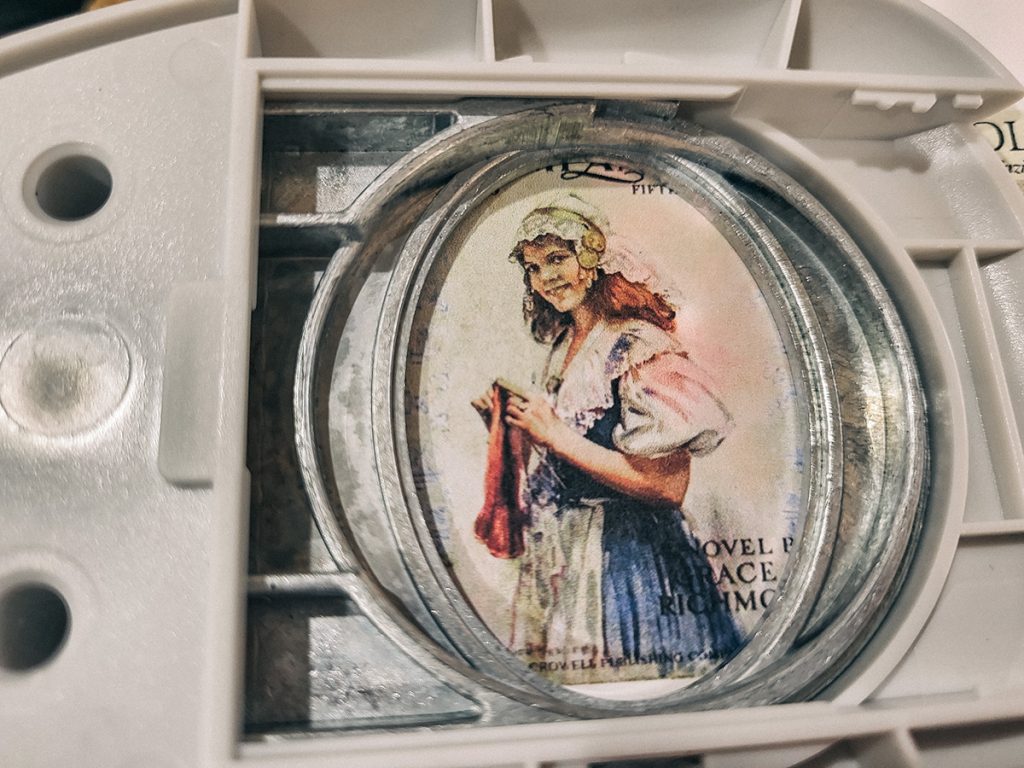
This is the tedious bit, it must be admitted. The very large punches don’t have a lot of “reach”, so you’ll need to trim the printed piece quite close to the images. Then, after you’ve punched the first column, you’ll have to trim again to reach the second.
Remove the cover from the bottom of the punch so you can see. Then turn it upside down while you use it, to line up the image inside the punch. You’ll notice I don’t have this one QUITE lined up – there is a little white space at the bottom, so try to watch that.
Punch each oval, and set them aside.
Then, take the 5/8″ punch, and punch a hole at the bottom of each oval for the floss. Just push the oval all the way into the smaller punch, as you want as much material at the very bottom of the punch as you can get, for longevity.
Once you’ve got all the floss holes punched, go back and add two 1/4″ punches. The one at the top of the drop is for attaching it to the ring. The one off to the side is very useful for storing extra thread. For instance, when you take a piece of floss and strip out a couple strands to use for stitching, place the others through the small hole for later. You can also use it to keep track of shorter lengths that are still usable.
You might find it works best to move the smaller punches off to one side of another just a little bit, in order to better preserve the design. Once you’ve got them all, you can put them to use. You can note the brand, color, and number on the back of each drop.

You can just pass your skein through the hole and secure it. But, for me, the whole purpose of using thread drops is to have my floss precut and ready to go. To prep my floss for the thread drops, I use a floss winder. I love this one, from Thread the Needle Stitchery. Mine is a 9″, which gives me 18″ lengths of floss. Which is about all the longer I like to work with, especially if I’m using silk.
To use it, you put one end of the floss through the hole, and hold it on the other side. Then, wind your skein around it, and cut it at the groove with sharp scissors, while holding all the strands on the back. Next, make a loop at the center of the strands (where your finger is), thread it through the hole on the thread drop and loop the ends through to make a half-hitch.

And there you are. The eagle-eyed among you may have noticed that these drops are round. And are NOT fashion magazine covers.
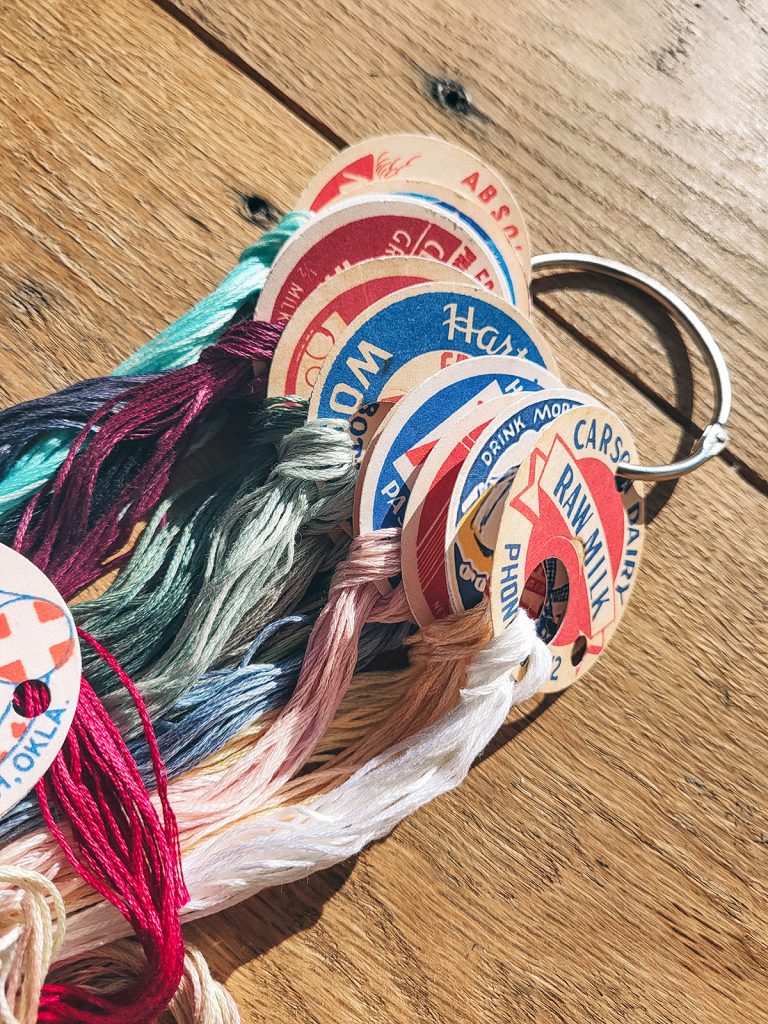
Before I decided to make my own thread drops, I ran across a number of sellers who were actually making them out of old milk bottle caps. These thick, cardboard rounds would go in the tops of old glass milk bottles. They’re still pretty easy to get your hands on at antique sales and flea markets. And you both know how I love those. But I couldn’t bring myself to actually put holes in the genuine articles. Plus, a lot of them still have staples in them, and I was concerned about snags. So, instead, I took images of vintage milk caps, printed them on the same extra heavy cardstock, and made milk cap thread drops.
I’ve also included three pages of these (with 12 images each) in the resource library for your use.
So, go make your own thread drops, then tag me on instagram so I can see them!