
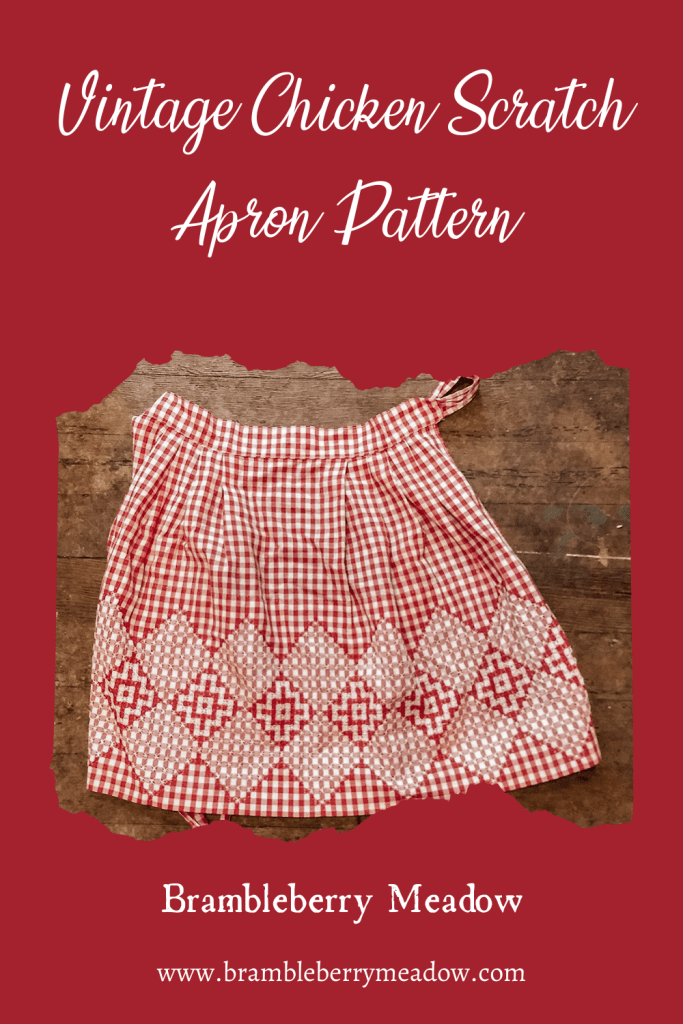
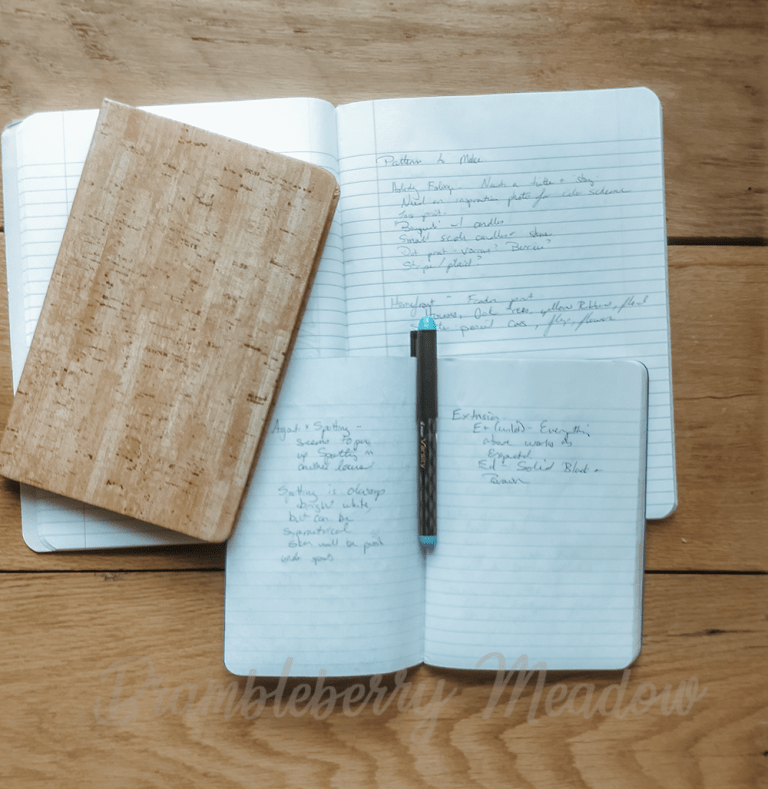
Vintage Chicken Scratch Apron Pattern
In keeping with this week’s podcast on Apronology, I thought I’d share with you some of my collection of aprons. And a pattern for one of the simpler “Chicken Scratch” embroidery examples.
Chicken Scratch is a style of embroidery that uses the squares in gingham fabric along with both matching and contrasting colors of floss to create patterns that look complex. Most, however, are really pretty simple to work. Covering squares of one color or another create patterns in the gingham. Most chicken scratch patterns are made up of simple cross stitches, small “o” stitches, or “asterisk” double cross stitches. More complex designs add another thread that intertwines between these stitches. Let’s look at some examples:
I shared this one as part of that podcast episode:
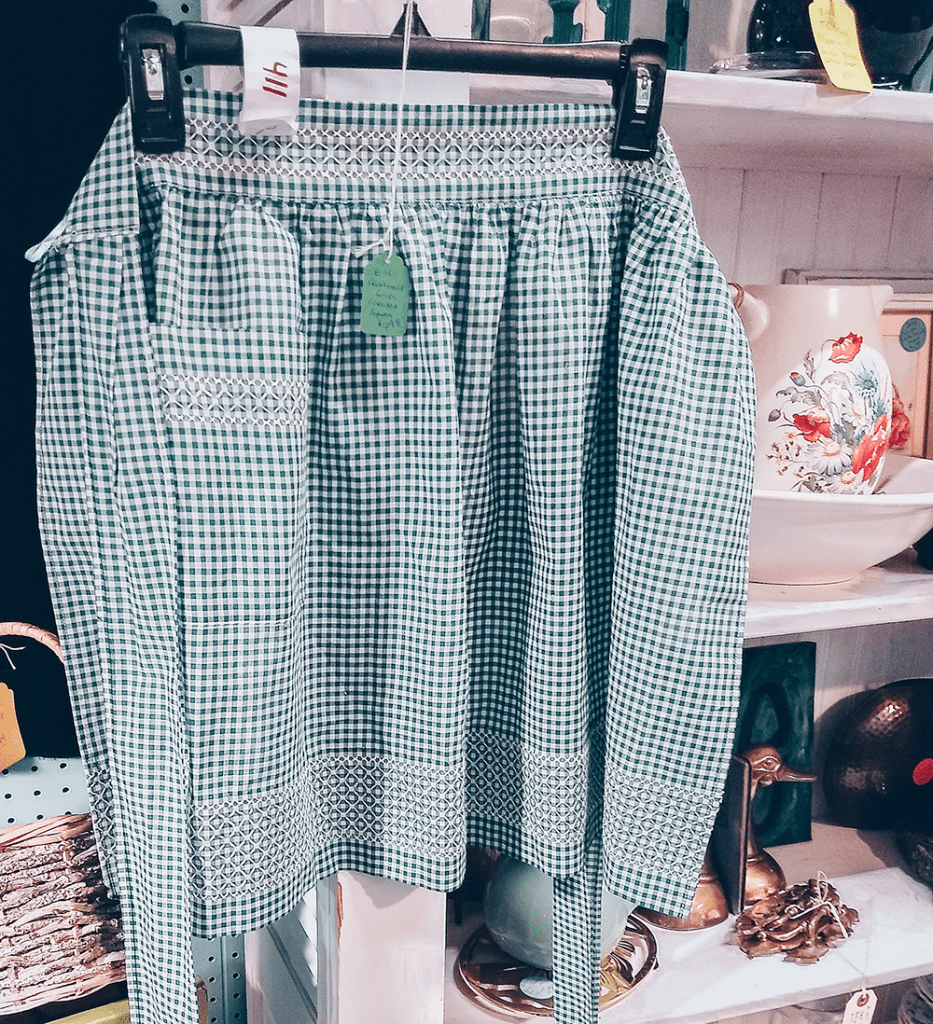
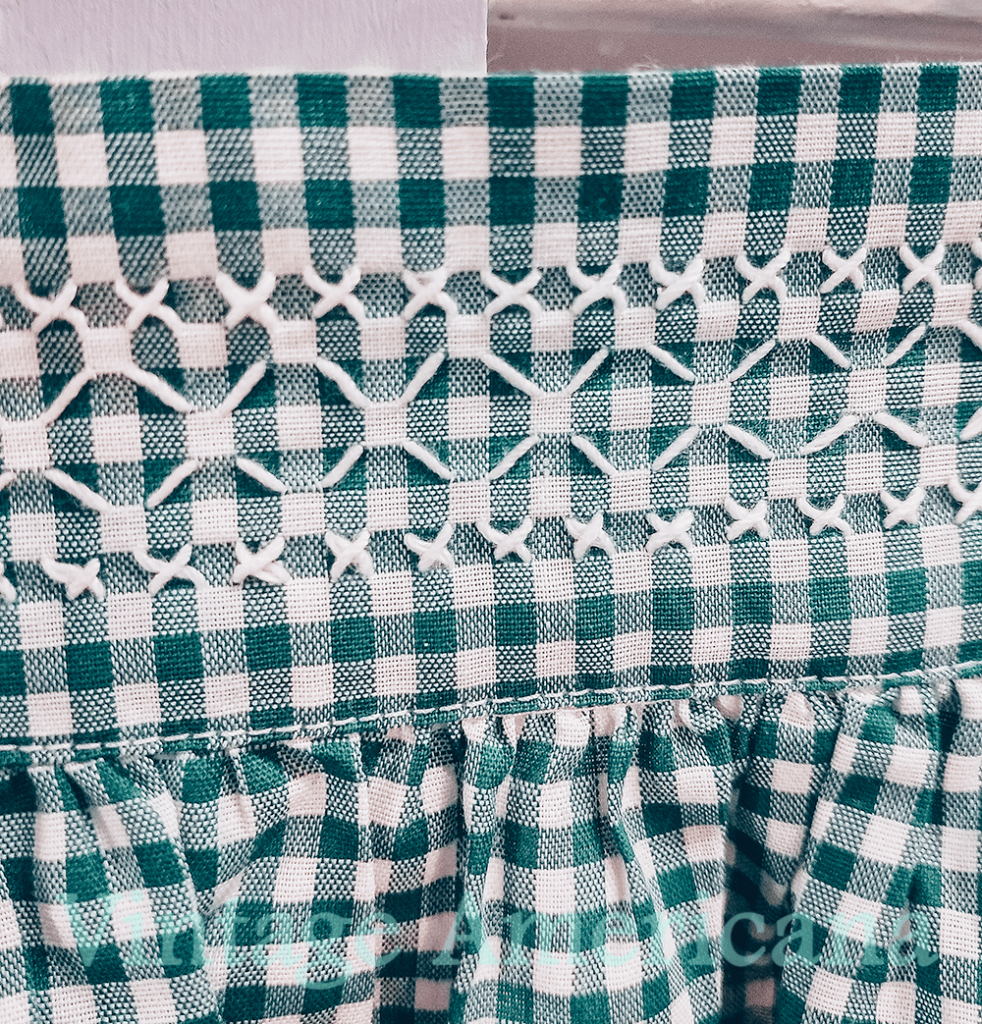
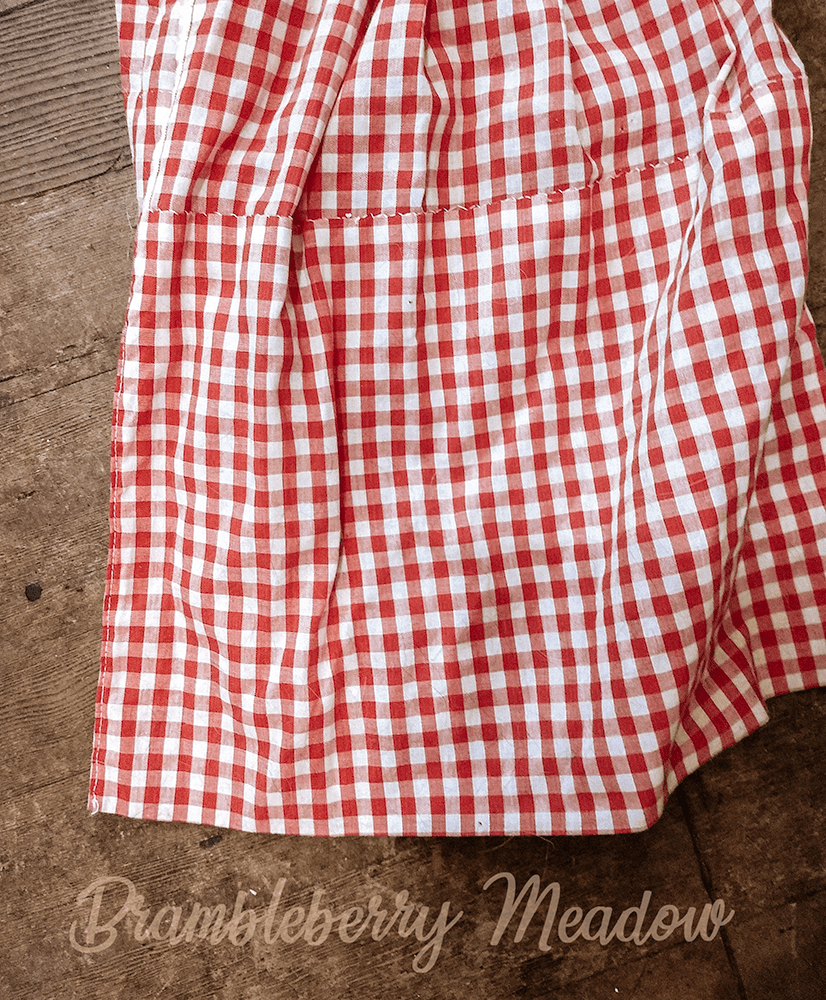
I bought it at a local antique mall, because it was such a simple but effective embroidery pattern. It’s also a smaller scale gingham than a lot of other aprons I’ve seen. Here are some detail photos of the hem:

Made up entirely of simple cross stitches and half cross stitches that are only on the dark green blocks, it’s a nice, clear pattern.
The same pattern repeats on the waistband, just narrower. This would be a very simple pattern to reproduce:
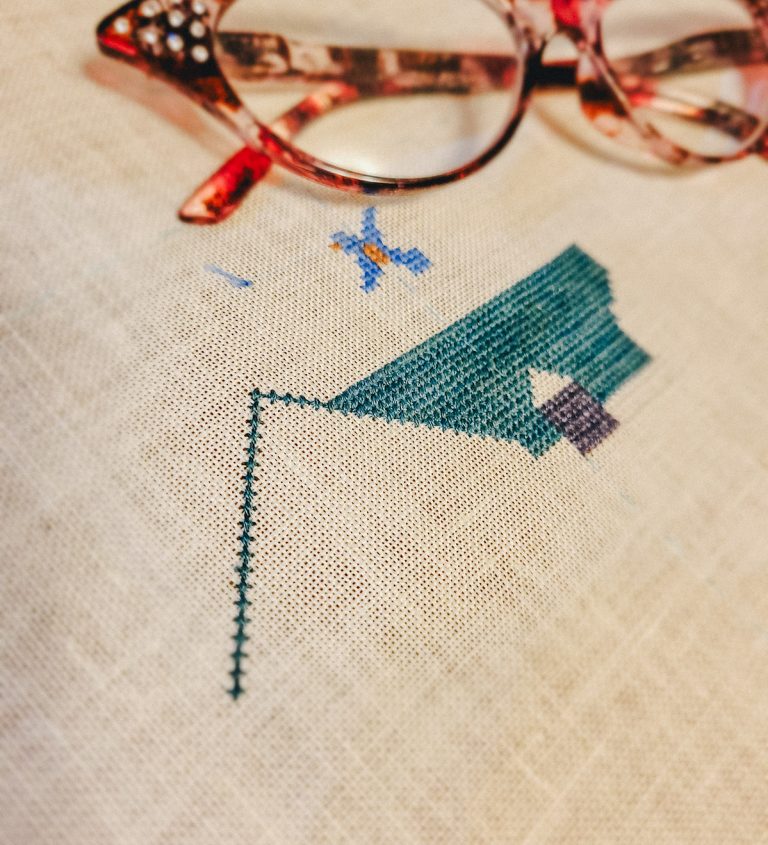
I visited the antique mall again today, and found this one. It’s a little larger scale gingham.
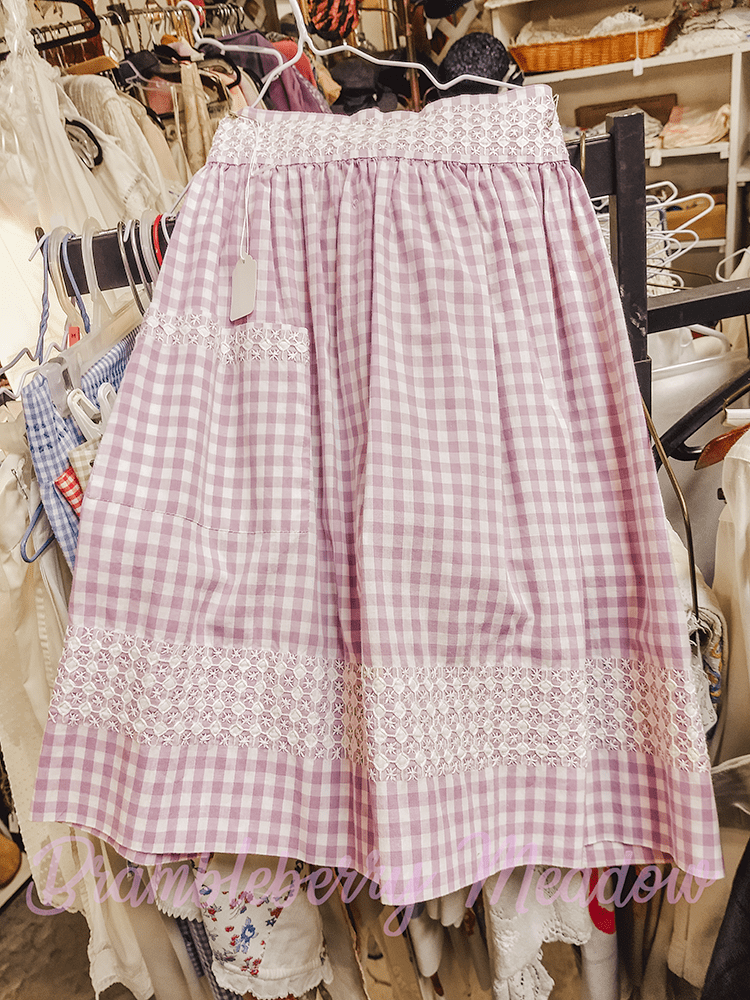
This pattern is a little bit more complex, but still uses only white floss to pick out the pattern. The double crosses are over the dark lavender squares, and the diamonds surround the white squares.
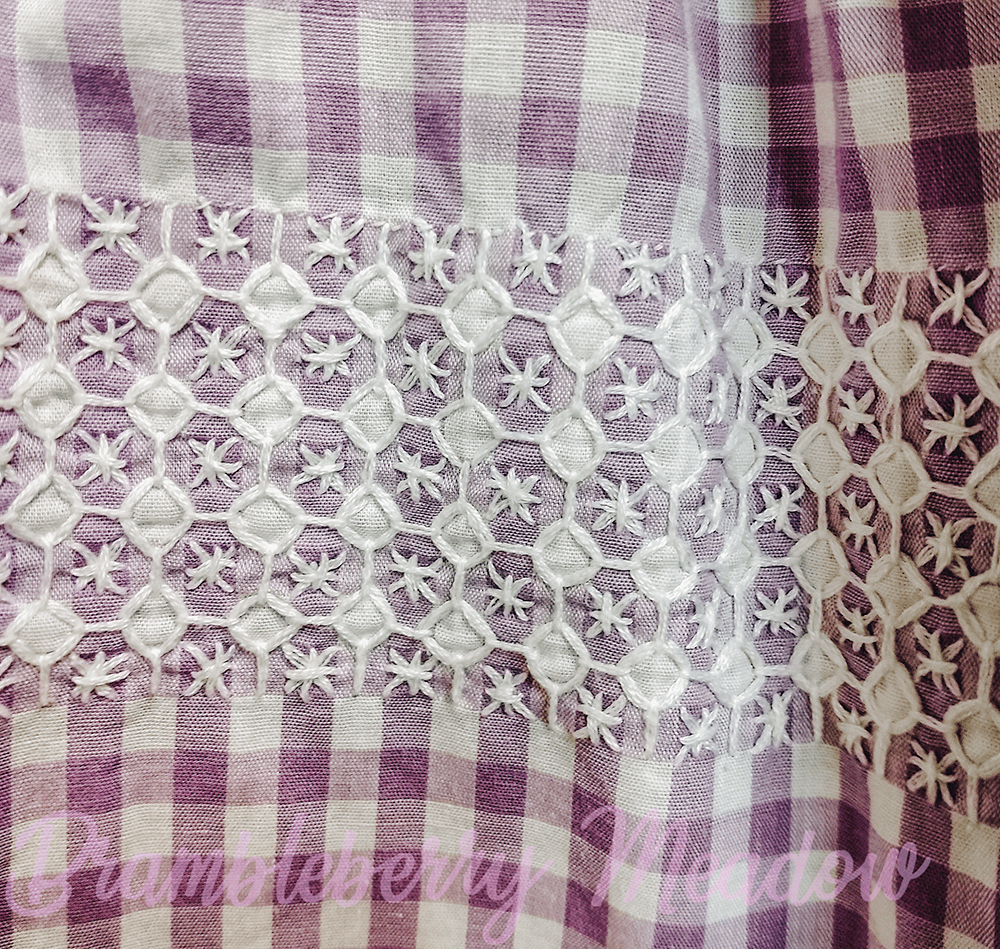
One more from my own collection, is on a slightly larger gingham as well. But this one uses two colors of floss to really make use of the color manipulation for which Chicken Scratch is so famous.
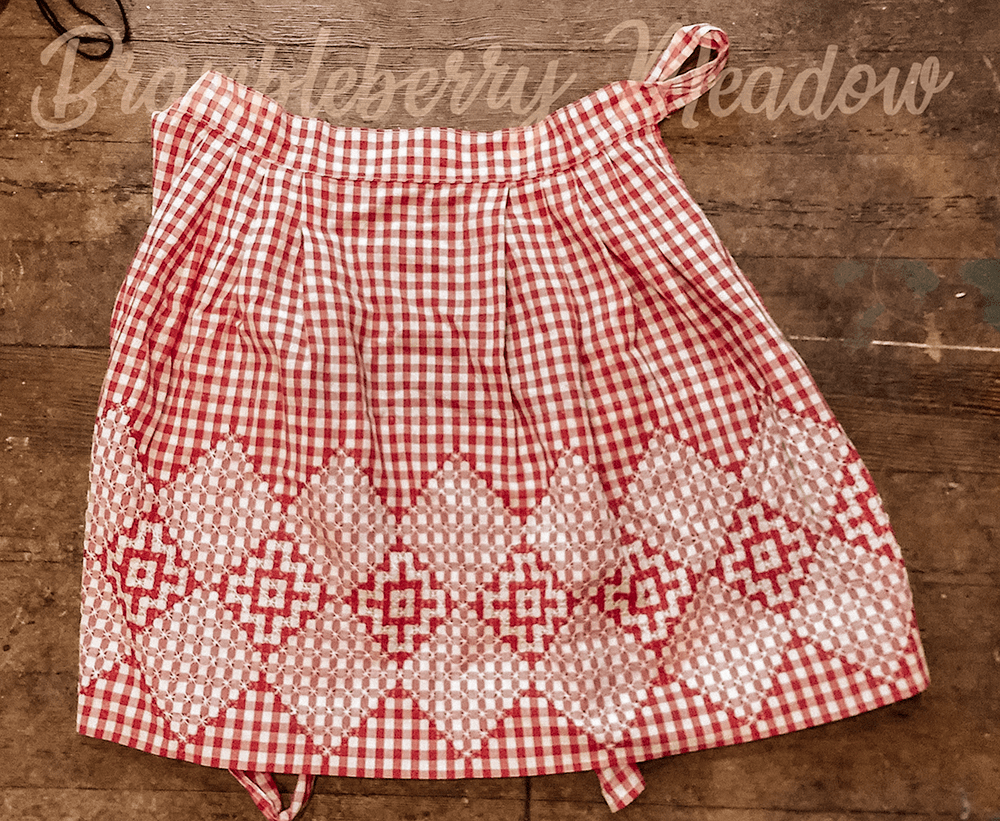
The apron consists of two pieces – The waistband, and the apron body. The body was cut long enough to turn a very wide hem allowance up, so that it covers the back of the entire section of embroidery.
Also known as Broderie Suisse, Amish Lace, Depression Lace, and Snowflake Stitch, among other things. The technique has been popular in many different times and places. In fact, if you look around the net, you’ll find some of the most intricate patterns available in modern books are from Spain and Latin America. The stitch can be worked in 6-strand cotton embroidery floss (the number of strands used depends on the size of the squares on the gingham), cotton perle, or floche. Floche is a single stranded cotton embroidery thread that is softer than perle cotton, and is available from embroidery specialty shops or from lots of vendors on Etsy.
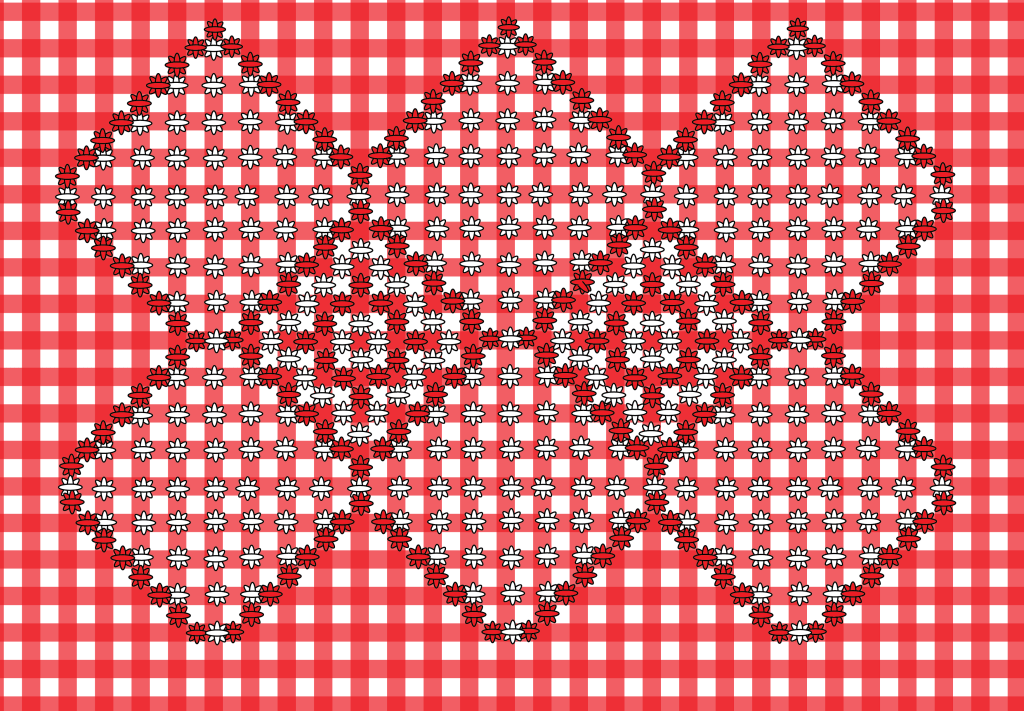
I drew out this pattern so that you can make your very own Chicken Scratch apron. I did miss one small stitch at the bottom tips of the lower diamonds, but you should be able to work the pattern without too much trouble:
If you’d like to make your own apron, cut the body about 36″ wide. To find the length, measure yourself from your waist to your desired length. Then count 34 squares on your gingham, and measure that length. Add your desired length + measured embroidery pattern depth (34 squares) + 1/2″. That’s the length of your body piece. The waistband needs to be your waist measurement plus about 36″ to have room to tie. Cut the waistband 4″ wide.
Hem the sides of the body of the apron with a narrow hem. Then work the embroidery. To place it, find the center of the body, and mark it. Measure up from the bottom of the body fabric the measured embroidery pattern depth + 1/2″, and start the bottom of your embroidery pattern on this row. Once the embroidery is done, press the bottom edge of the fabric under 1/2″. Turn the hem up so that the bottom of the apron is now the bottom of your embroidery. Stitch the turned under edge to the apron using a tiny hem stitch.
Now make the waistband. Fold it in half lengthwise, wrong sides together, and press. Mark the center front of the waistband. Measure out in each direction 10″, and mark. Sew one waistband end with 1/2″ seam allowance, turn the corner, then sew along the length of the waistband, stopping at your mark. Repeat on the other side. Turn one side of the opening under 1/2″ and press. Clip the corners, turn the waistband rightside out and press.
You can either gather the body to fit the opening in the waistband, or you can take a few pleats on each side. The original has three pleats on each side. Pin the body to the free edge of the waistband right sides together and stitch, being careful to keep the folded edge of the opening in the waistband free. Tuck the raw edges inside the waistband, and whip the turned under edge to the back of the apron body with a tiny hem stitch.
One of my favorite sites for all things embroidery, including Chicken Scratch is Needle’n’Thread by Mary Corbet.
You’ll find lots of patterns on Pinterest, but you’ll have the best luck searching Chicken Scratch Embroidery or Broderie Suisse.
My favorite source of gingham fabric is Farmhouse Fabrics. They are the nicest folks, and carry lots of colors. Either 1/8″ or 1/4″ gingham is most conduscive to this kind of embroidery.
I hope you have fun with Chicken Scratch. If you make your own apron, post it to Instagram and tag me!
Pin this post:
One Comment