
Preparing Fabric and Threads for Embroidery
Why spend the time before you start to prepare your fabric and threads? I’ve made a point both on the podcast, and here on the blog to say a few things that I feel don’t often GET said. In an effort to make everyone feel “welcome,” there is a push to make EVERYTHING beginner-friendly. And, as a corollary, not to suggest that anyone is “wrong” by talking about ways to do a better job at whatever it is that you’re doing.
So, once again – not everything here on these pixels is beginner-friendly. And, whether you are a beginner or not, sometimes I’m going to advocate for finding ways to do things better. Not “hacks.” But, genuine practices that might take longer or be more complicated but that will result in a better end product.
As a way to advance my own skill set, I’m working on the Embroiderer’s Guild of America’s Master Craftsman certification in counted thread work. And looking for ways that help me to produce a higher quality piece. Even if I still fail to pass on the first go ’round.
Starting, therefore, is the place to begin. So let’s talk about preparing fabric and threads for embroidery.
And we’ll begin with the fabric. The very first thing I usually do, especially with linen for cross stitch is to sew a zigzag all the way around the edge of the fabric to prevent ravelling. (Don’t use tape. Just… don’t.) Then, it’s time to wash – sometimes I prewash, sometimes I don’t – depending on my concerns about the fabric itself, or if it’s been around my house and in storage for a long time. I try NOT to wash hand-dyed fabrics, since they’re more likely to run. Especially very dark colors. But sometimes, needs must.
To wash my fabric, I fill a basin with cool water – room temperature. And then dip my fingertip into a container of Orvus paste, then swirl it into my basin of water. If you’re not familiar, orvus is a pure detergent, not a soap. It’s available in enormous tubs from places like Blaine’s Farm and Fleet. Or, sometimes your local quilting or needlework store will repackage it into smaller containers for our purposes. It’s a very gentle, pH-neutral cleaner. I let the fabric sit in the water, and gently swirl it, just until it’s wet through. You don’t want to soak it, especially if it’s hand-dyed. Then I pull it out of the water, and squeeze it gently – don’t wring! And I lay the piece of linen on a clean towel, and roll it up like a jellyroll, with the linen as the filling. I can then squeeze the rolled towel and get a lot of the water out of the fabric.
I let the linen air dry until it’s just faintly damp, and then press it with an iron set on medium to medium-high. If I have stubborn wrinkle, I keep a spray bottle with a homemade pressing spray handy. I’ll share that recipe at some point, but until then, a commercial version like Mary Ann’s Best Press or Flatter will work. Use it sparingly, either way.
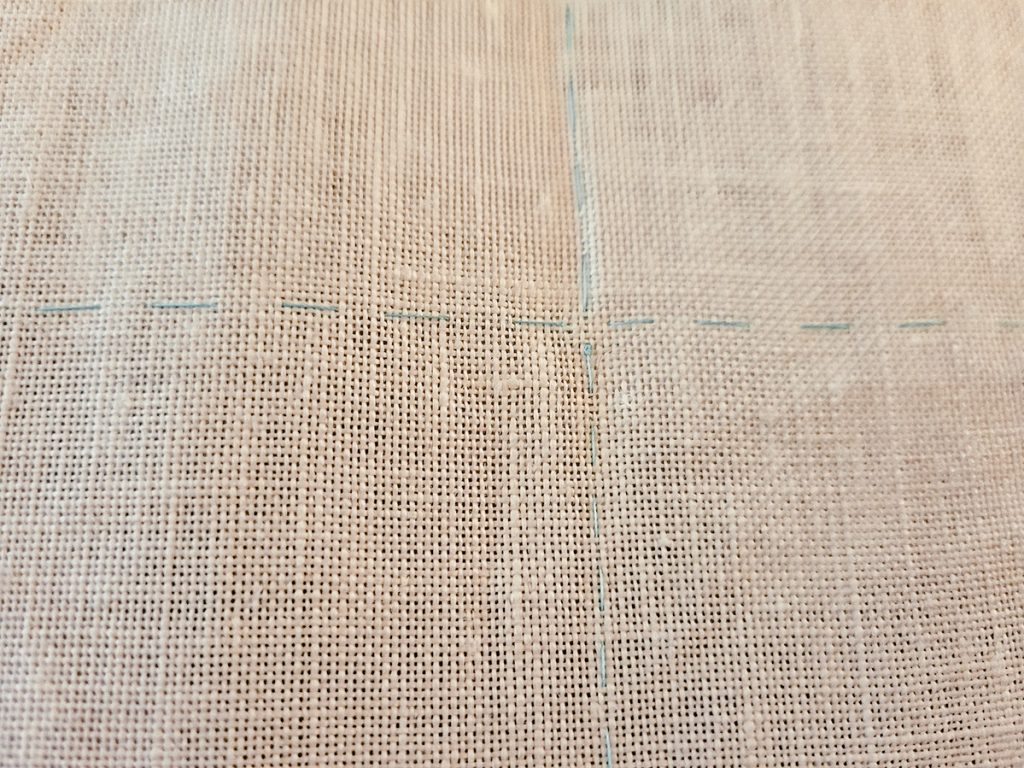
Once clean, mark the center of my fabric. I fold it in half, then in quarters to find the center, and then take a large running stitch down the center in both directions. Be VERY careful to stay between the same two threads the whole way, so that you can use this thread as a reference point. You CAN add more marking threads if you like. There is a lively debate in online cross stitch forums about whether or not you should “grid” your fabric. That means to use a thread to mark every 10 stitches in blocks across the fabric. I really think this makes more sense for “full coverage” pieces with lots of confetti stitching. I don’t grid. I do occasionally add a few extra marking threads on very large or very complex pieces.
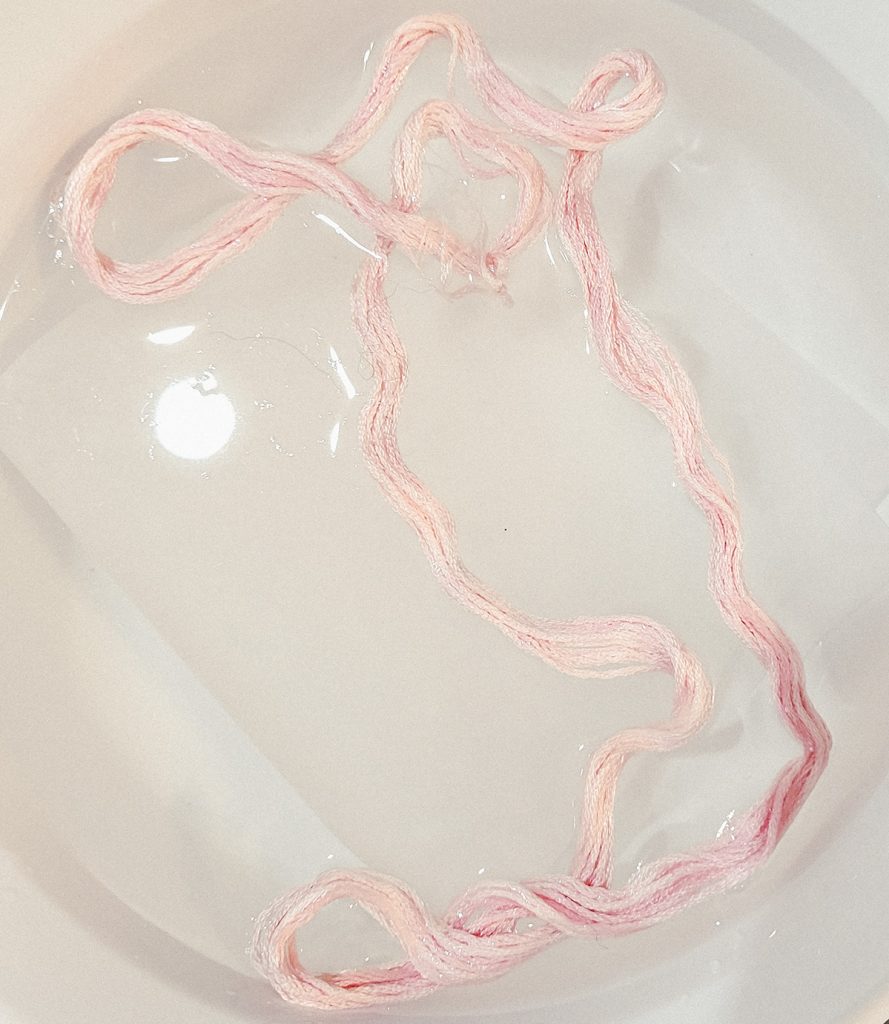
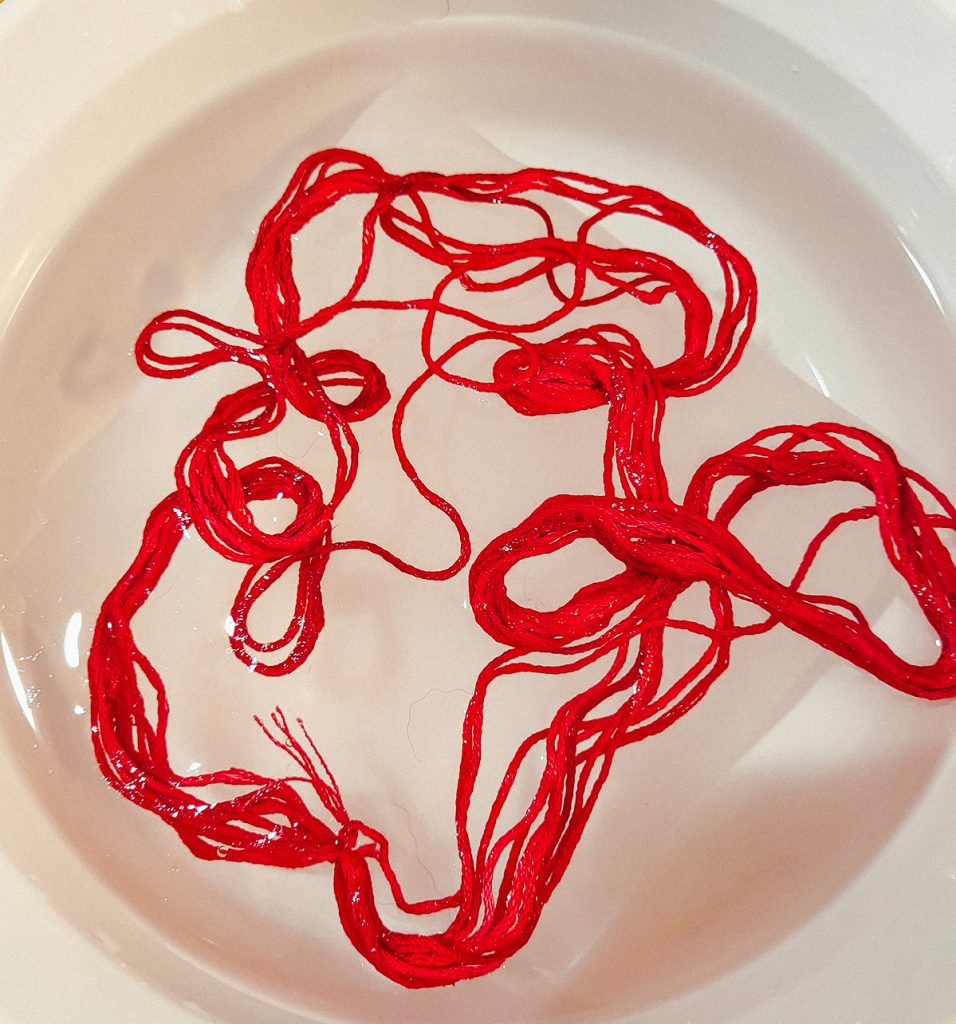
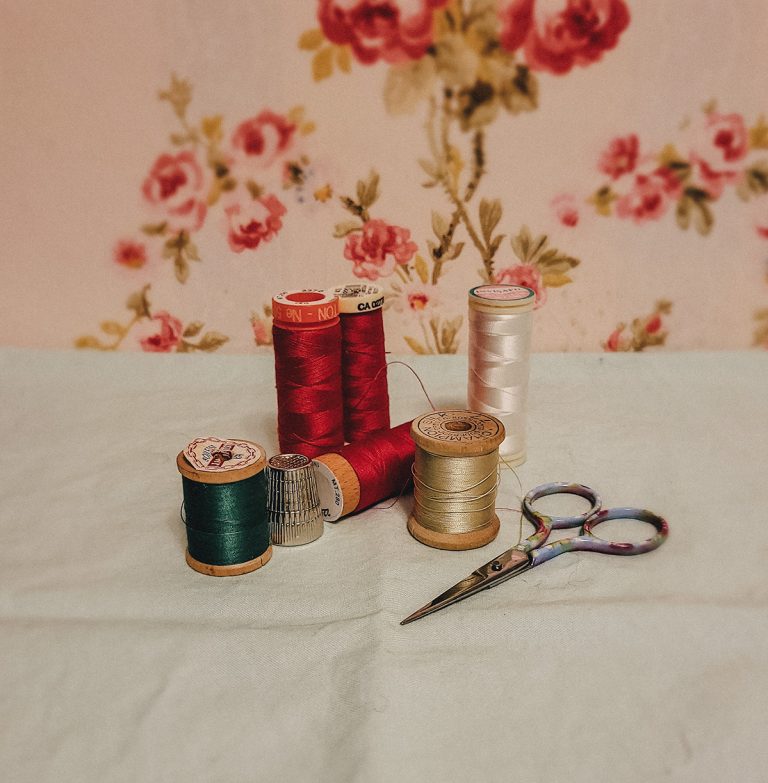
And then it’s on to the threads. Now, I don’t usually pre-wash DMC. I DO often prewash overdyes, just in case there is still a little excess dye in them. As with the fabric, I use cool water, and just the tiniest bit of orvus paste. Then I let each skein into the bath, one at a time. I start with the lightest color and work my way into the darker colors, ending with red. Mostly because if anything is going to run, it’s usually the red shades. And, as with the fabric, I roll my skeins up in a towel to squeeze out the excess water before laying them out to dry.
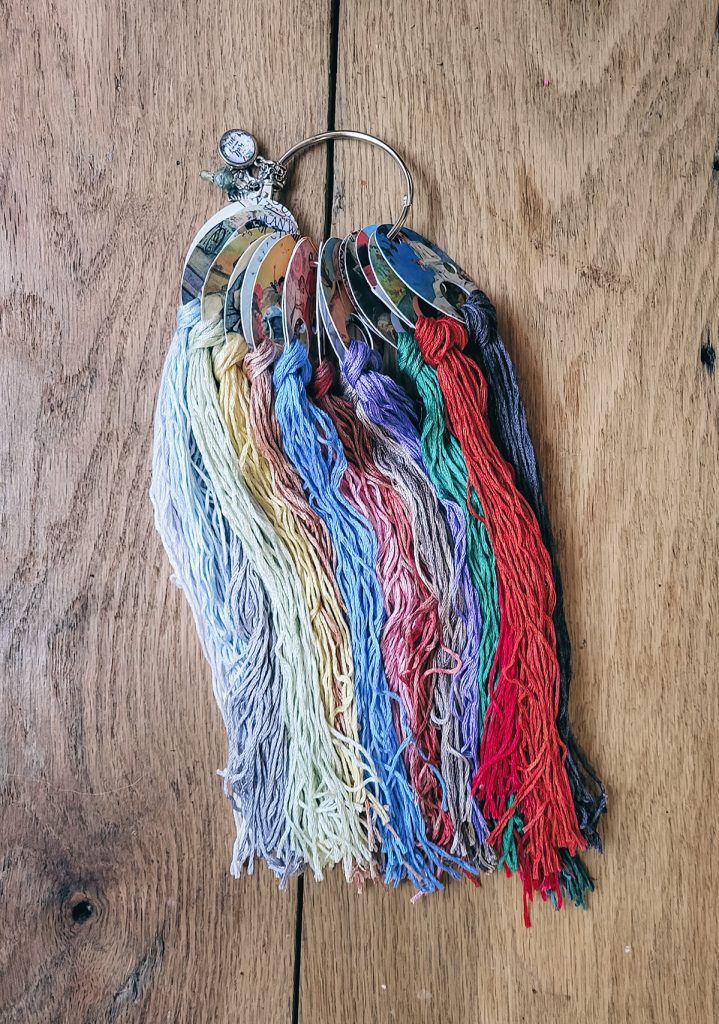
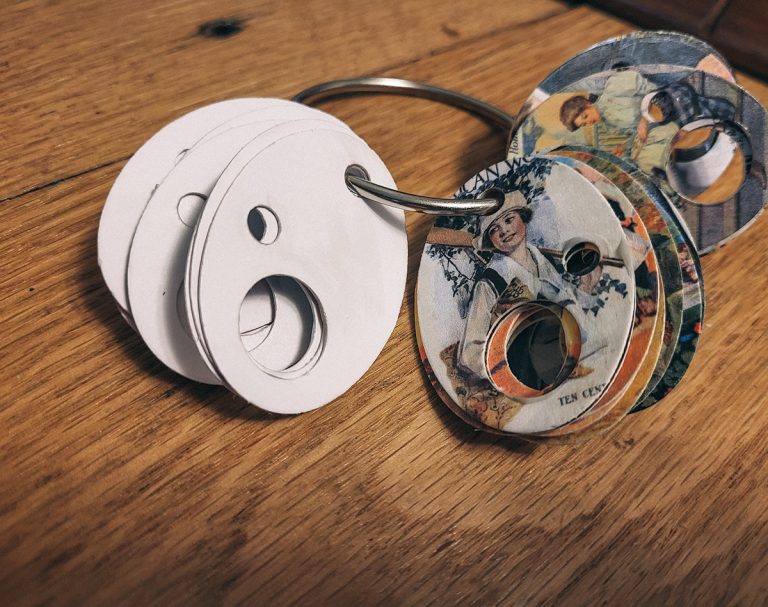
Now, once upon a time (back in college, if you must know) I, too, had the collection of bobbins in boxes for floss storage. But I really don’t like the way that the bobbins leave crease in my floss. And I’ve come to much prefer working with floss drops. So, once my floss is dry, I use a floss gauge to cut my floss into 18″ lengths and loop them onto floss drops.
And I’m all ready to go.
Those thread drops? We’ll take a closer look at those in a bit.
The floss gauge? I got it from Thread the Needle Stitchery.

One Comment